This article explains how to personalize notifications, giving you the ability to tailor your notification settings to your individual needs and preferences.
Accessing the Notifications tab
Personalizing notifications involves adjusting various settings to ensure that they meet your specific preferences. This can include changing the text of the notification to include the information that you find most relevant or adding desired variables, such as time stamps or the sender’s name. By customizing these settings, you can create a notification system that provides you with the information you need.
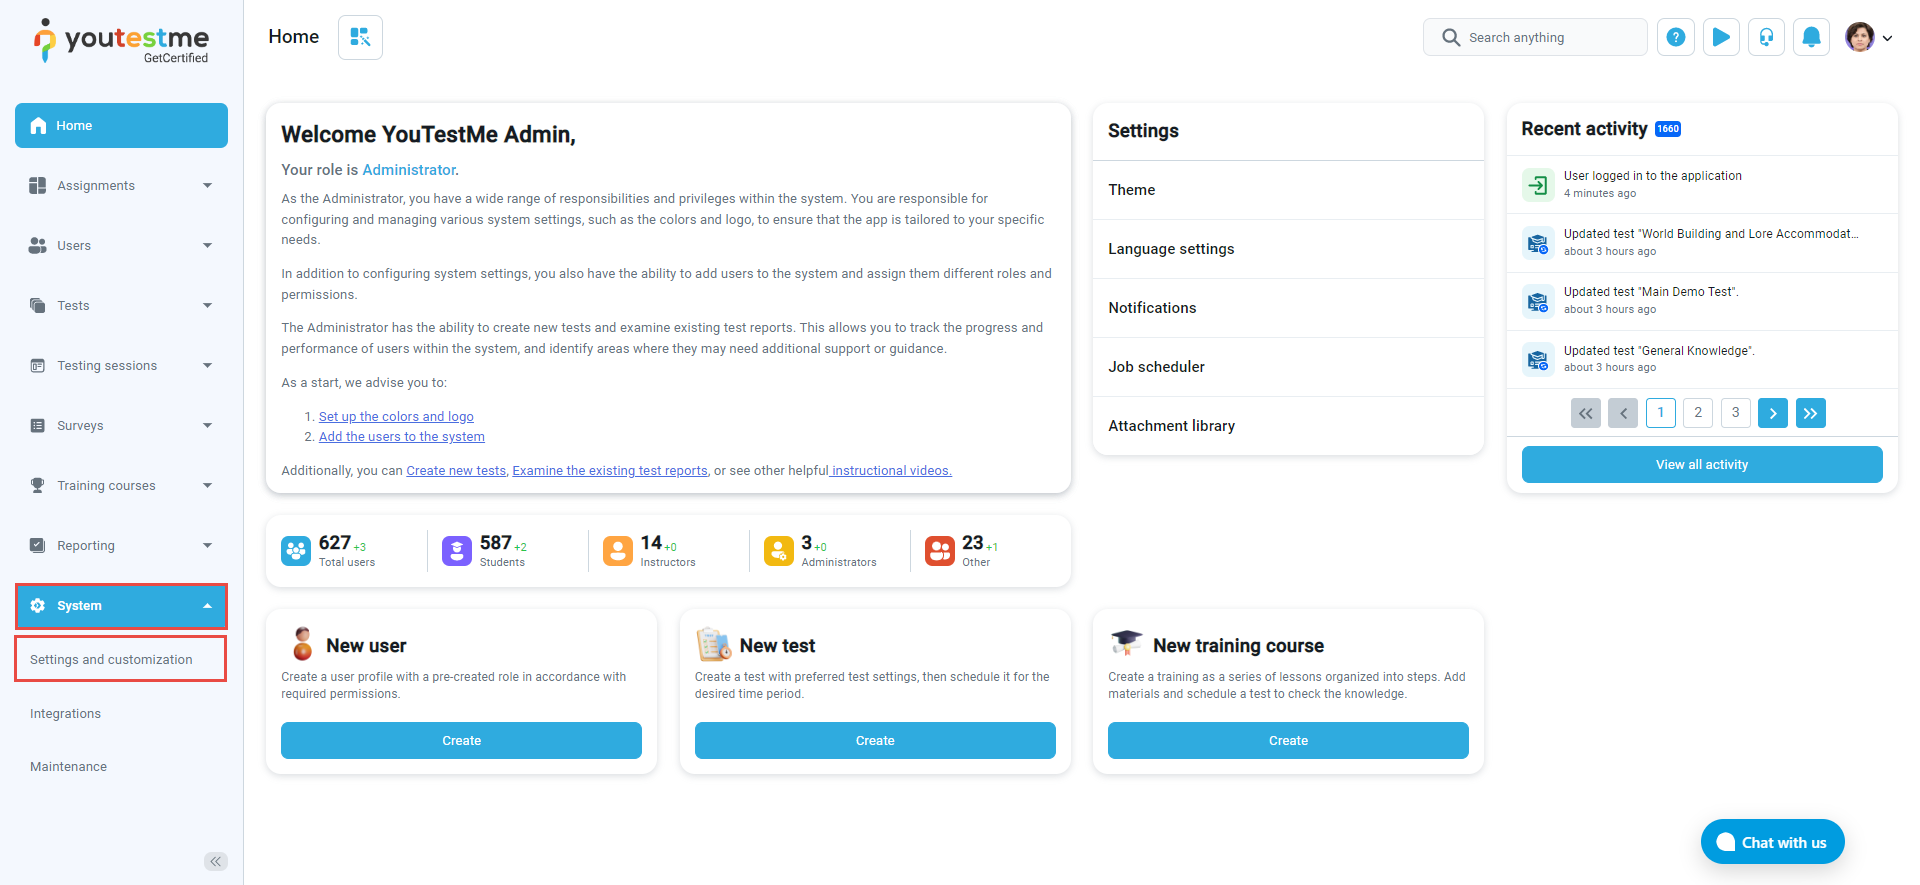
To manage and edit your notifications, select the System tab and select the Settings and customization tab.
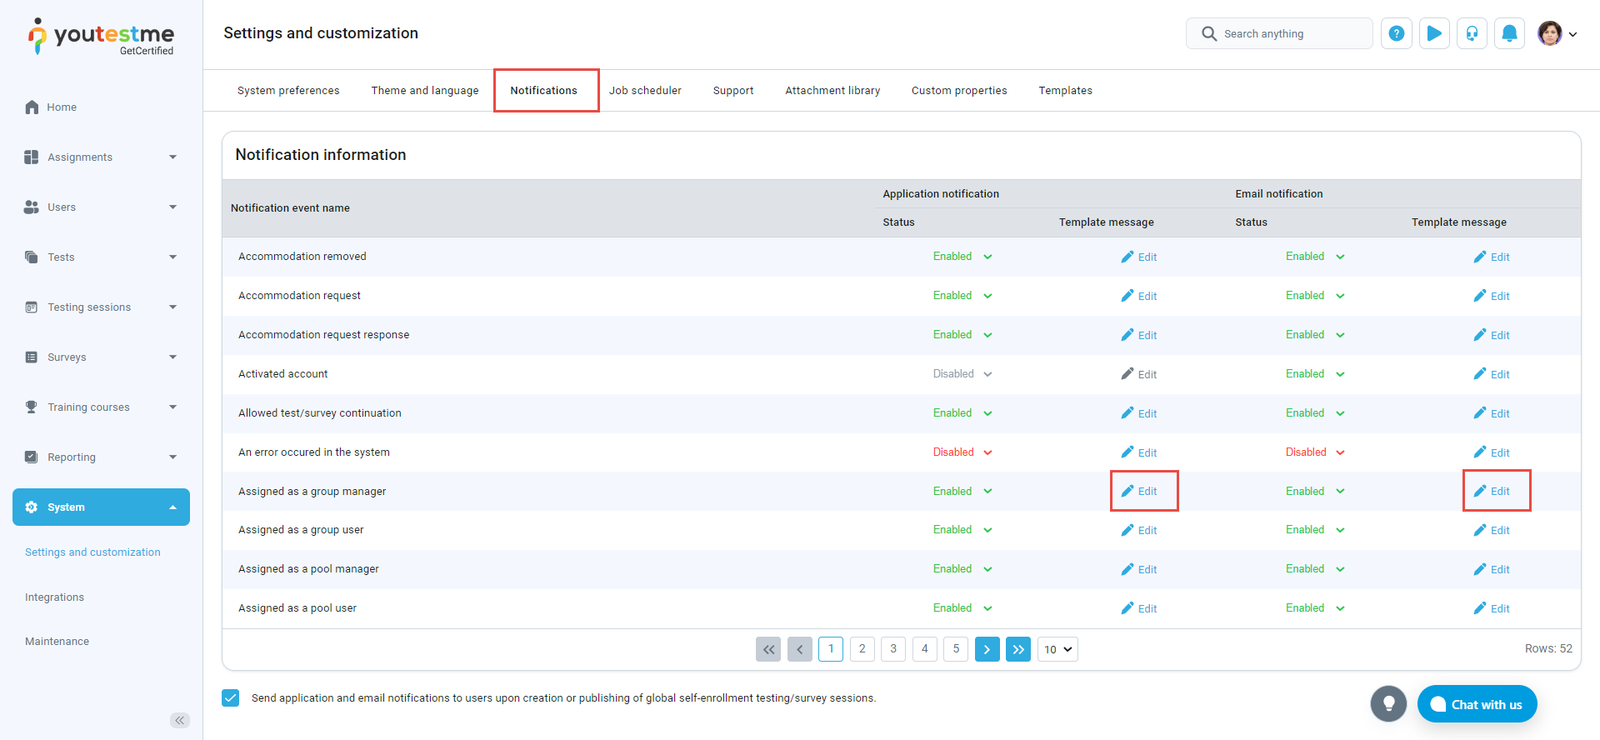
In the GetCertified application, you can easily edit your notifications. Simply go to the Notifications tab and select the Edit button for the specific notification you want to customize, whether it’s an email or application notification. From there, you can adjust settings such as text content to create a personalized notification experience.
Customizing a notification
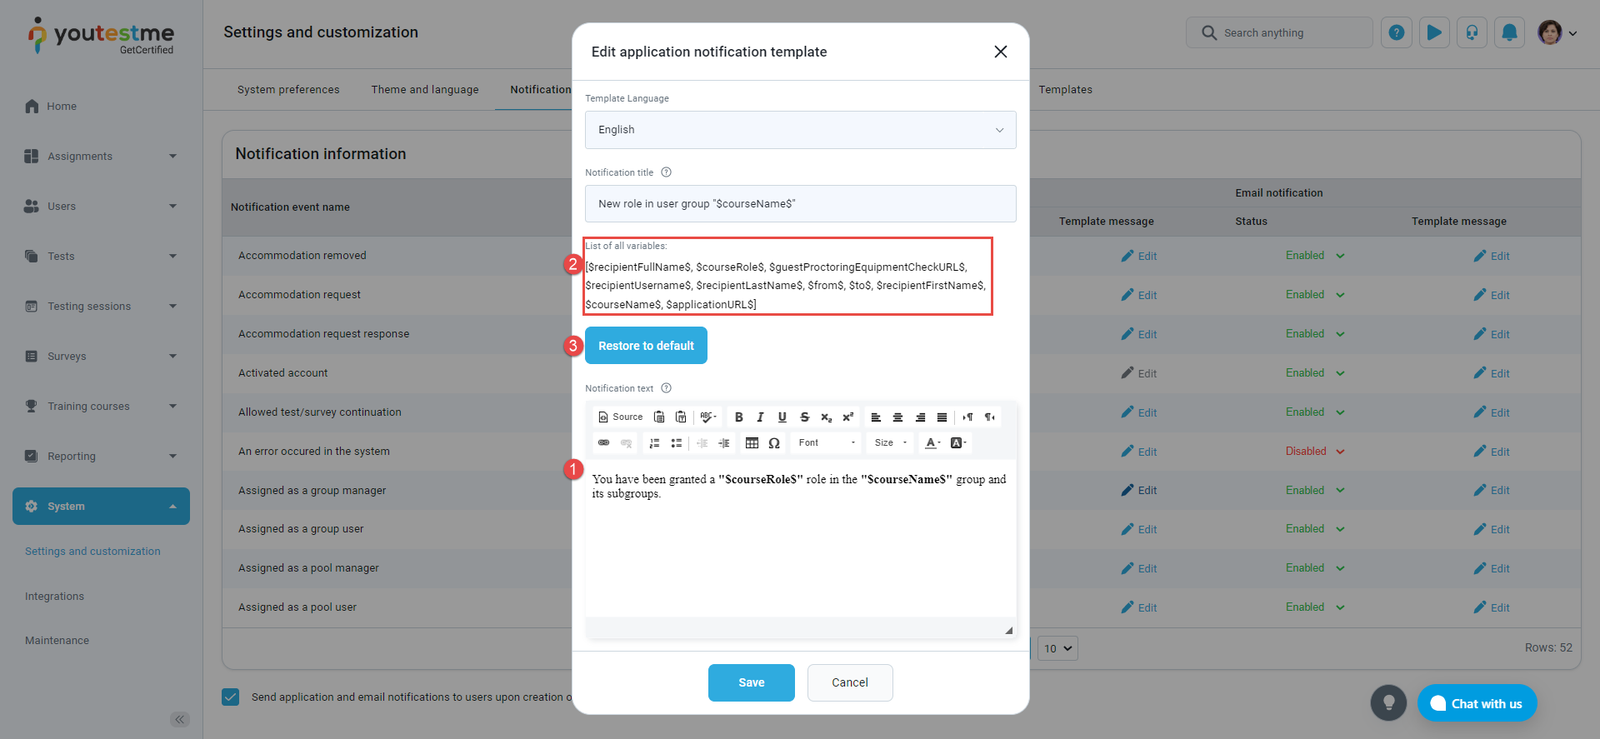
When customizing a notification, for example, Assigned as a group manager, you can:
- Edit the text to make it more relevant to your needs.
- You can add a variable like the name of the group you are managing. Input the desired variables above the text area to personalize your notification.
- If you want to go back to the original notification settings, you can easily restore the default application/email notification by clicking on the Restore to default button. This will reset the notification to its original settings and undo any previous customizations you may have made. Keep in mind that restoring the default settings will also erase any personalization you have added, so make sure to save any important changes before resetting the notification.
For more related instructional materials, please see: